Creating a Portable PC on a USB Drive
Carrying a full-fledged PC around can be cumbersome. A portable PC on a USB drive, however, offers a convenient alternative. This setup, also known as a persistent bootable USB drive, allows you to boot a Windows operating system directly from a USB drive on any compatible computer.
Here's a breakdown of the steps involved:
1. Preparation:
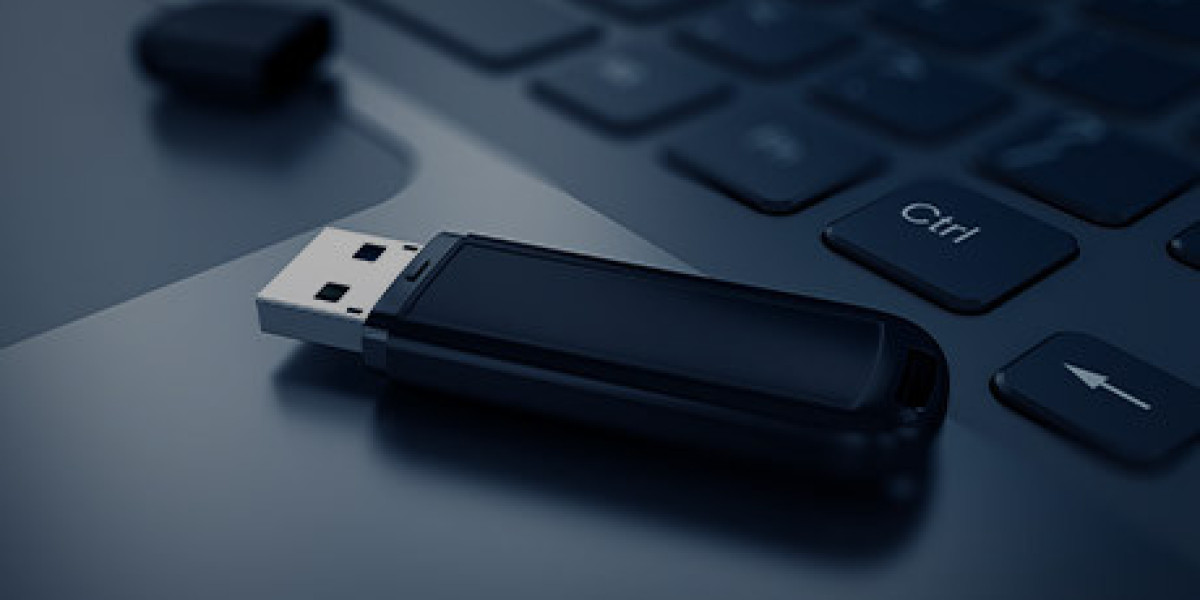
- Hardware: You'll need a USB drive with sufficient storage capacity (at least 16GB for a basic Windows installation). Opt for a USB 3.0 drive for faster performance.
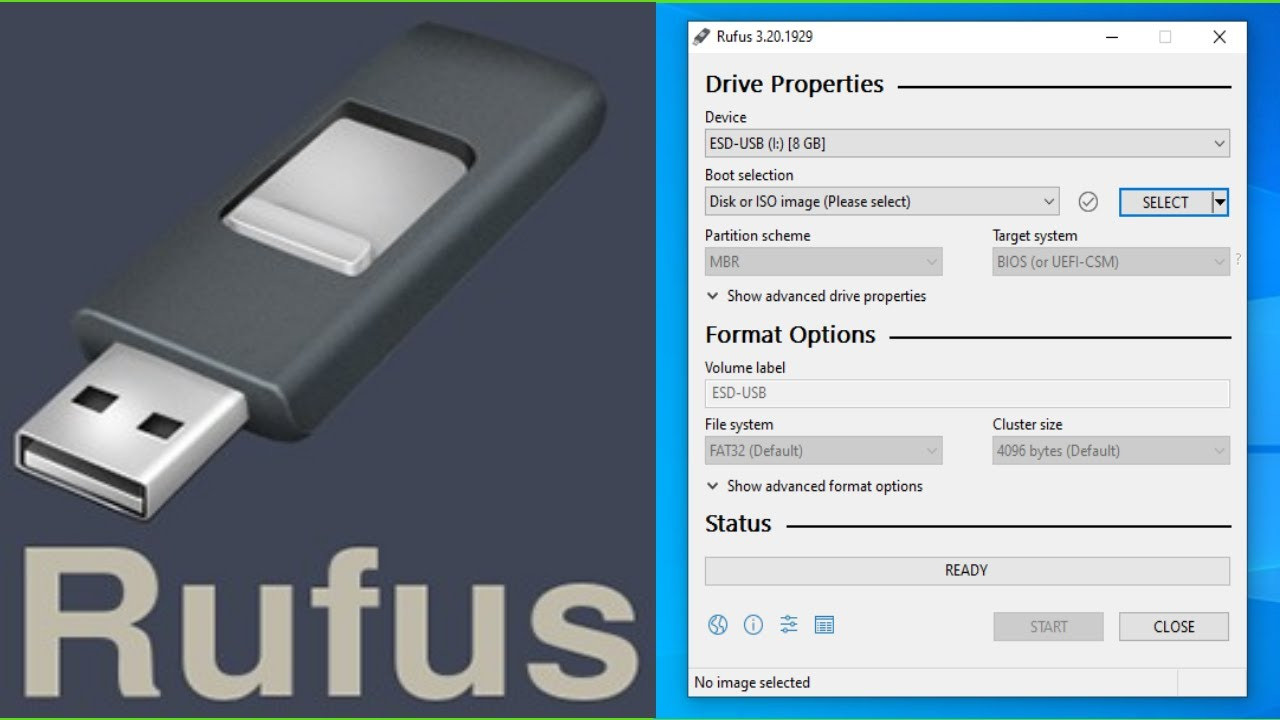
- Software: Download a program like Rufus or EaseUS OS2Go to create the bootable USB drive. You'll also need a Windows ISO file, which you can obtain from Microsoft's website.
2. Creating the Bootable Drive:
- Run your chosen software and select the USB drive and Windows ISO file.
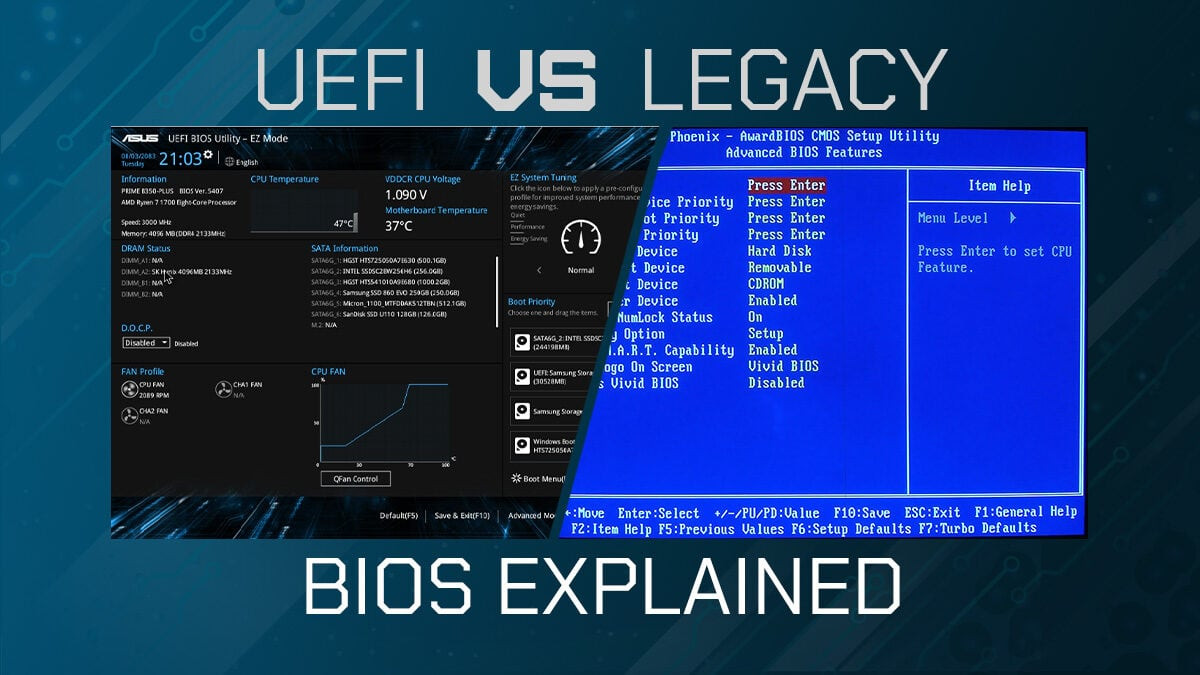
- Configure the boot settings according to your needs (UEFI or Legacy BIOS).
- Proceed with the creation process, which will format the USB drive and install the Windows OS onto it.
3. Booting from the USB Drive:
- Restart the target computer and access the boot menu (usually by pressing a key like F10, F12, or Del during startup).
- Select the USB drive as the boot device.
- The computer will boot from the USB drive, launching the portable Windows PC.
Important Considerations:
- Limited Persistence: Changes made to the portable OS won't be saved permanently unless the drive supports persistence.
- Hardware Compatibility: Not all computers may support booting from a USB drive. Check the BIOS settings for compatibility.
- Performance: Running a PC from a USB drive might be slower than a traditional installation due to USB transfer speeds.
Overall, creating a portable PC on a USB drive offers a versatile solution for carrying your Windows environment on the go. Keep in mind the limitations and ensure compatibility before proceeding.